on sidewinderforge.co.uk
& dachande.co.uk
Welcome to my 2014 TT page 2
Mod':- HID Headlamps
07/08/2014. Now 1 year on system proved OK, 28/07/15. ===========================================================================
2. HID Headlamp Mod' ( plus HID protection cct see diagram & note )
My
Tiger had
the Quirky headlight system, twin headlights but only one lit (low/dip
beam), the other only came on when high/main beam was
required. For
a while I have been running with dip beam with a reduced output main
beam to give a better look. (a possible max' 115watts/9.5amps with main
beam full on )
However what I wanted was both beams
available in dip & main situations. To get a better light
output I
decided to look for suitable HID modules. So as not to lose use of my
Tiger whilst carrying out the modifications I got a cheapish
(pre-split)
spare light unit (before the Sport came out and it was
realised
it's light unit
fitted). I could have resold it and got the sport one but
this
way has so
far cost less than half of that so i've stuck with it.
First
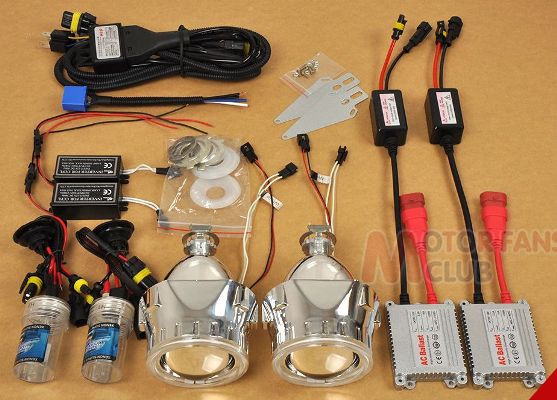
job was to obtain a set of HID lights and I got these from ebay, same
as
another member on the forum. One of the lenses had
a chip
out of it, but this
was replaced quickly without a problem by the seller. (the inverter
modules are rated 32 watts output each (64watts total) and the actual
current drawn by this setup up is 9.5amps)
Second
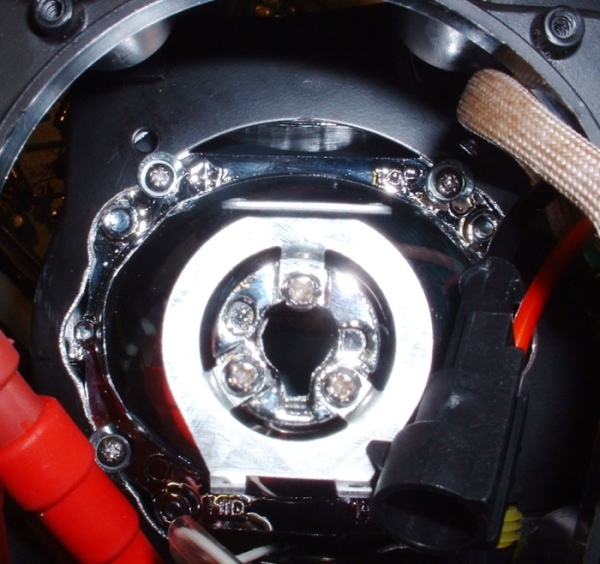
was to swap out the projectors. I found that the screws
holding
the shrouds on on the new projectors were positioned so they lined up
with the
inside edge of the Triumph mount plates. I used slightly
longer screws
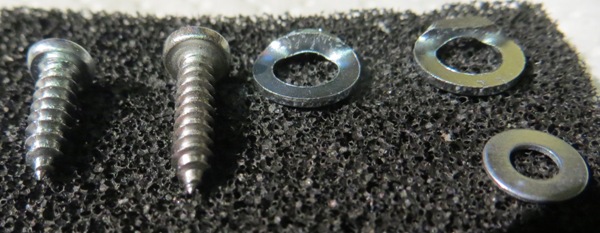
and two washers per fixing (four off) - larger of which had one side
bent 90°
and a flat filed on the bent bit. This bent &
flattened edge sits on the back of the
reflector bowl flange with the opposite edge of the washer trapping the
mount
plate between it and the flange. I also had to file away certain areas
of the
mount plate to clear various lumps and bumps on the reflector bowl
flange.
The new projectors were then mounted back on the three captive bolts
and
roughly positioned as before.
The
origional screws were 3mm x 10mm long, the new screws are A2 stainless
3mm x 12mm long.
From left to right, old screw, new screw, bent 5mm washer, bent 5mm
washer with flat filed onto the bent bit, 3mm washer.
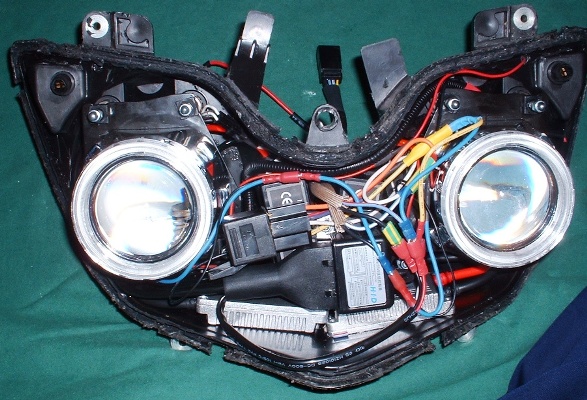
Third
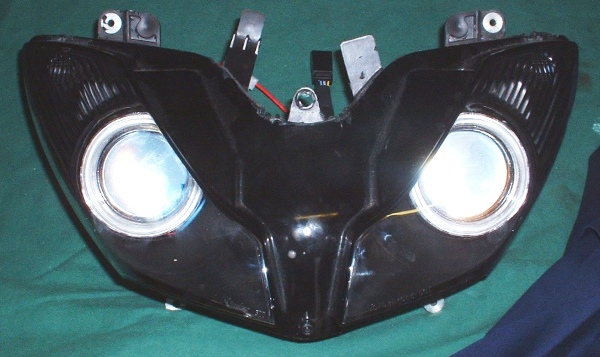
was fitting the ballasts & CCFL boxes etc. Ballasts
were two
part, larger units bolted flat to the bottom of the housing and smaller
black
boxes (via sticky pad) to the rear vertical wall. The two
CCFL inverters
were then sat on top of these latter and fixed in place by a strip of
aluminium
bolted to the back wall by a length of threaded rod.
The supplied wiring junction box was then bolted on top, using
its own threaded
rod with a 60mm long piece of steel tube as a spacer.
Fourth,
all wired up with junction
box and relay in place - just needs a few tie wraps. Relay is
to provide
switching & feedback loop to allow Hi beam/Flash switches to
act as 'lights
on' switch (as others have done).
Clear cover test
fitted leaving no evidence of internal wiring mods. Unit
will be fastened back together using screws and a bit of sealant of
some type,
possibly ally tape too.
I did remove some
material from the internal black plastic cover (that is
screwed to the clear front) to allow for the slightly larger shrouds on
the new
projectors.
Connection to
bike wiring will be via original plug plus additional wire direct
to battery.
Still to do, fit,
final function test and beam adjustment.
Today 08/08/2014 - mounted modyfied unit on the bike, slight technical hitch - one of the diodes I used gave up, replaced both with higher ratings. A wiring diagram will be coming soon.
The sequence of operation is now:-
Start engine origional side lights & new HID inbuilt Halo lights come on.
Operate headlamp pass/flash switch HID lights come on in main beam mode.
Release headlamp pass/flash switch & HID lights remain lit in dip beam mode.
There is no seperate option to turn off the HIDs, this can only be done by turning off the ignition switch.



Modification Wiring Diagram

Please Note:- The above diagram is basically done to provide protection for the HID lamps. They do not like being switched on then off very quickly, as in the Triumph when the starter is operated, you turn on the ignition the lights come on, you press the starter & the lights go off release starter button & lights come back on - this is the sort of operation HIDs do not like. The above circuit allows you to control when the HID lamps come on. i.e. once the engine is running.
The 4way plug at the top of the diagram is the one on the main wiring harness into which the lighting module plugs. In the lighting module there are two pairs of wires (the black wire becomes three wires in the headlamp module wiring loom) a black wire with the blue/red wire & a black wire with a blue/white wire, there is also a third pair which does not enter the light unit (black & yellow) this is to feed the side light units. If your HIDs have halo lights you can splice a wire into the yellow wire & thread it into the light module via the breather rubber tube ( we did this on the left hand side) adjacent to the side light. We put led bulbs in the side lights to be a better match to the halo light colour.
The relay circuit shown above uses a pair of diodes in one package (Schottky diode MBR1535CT, Maplin Code N13CC). The relay is a 12vdc horn relay plugged into a prewired base. Halfords or Maplin should have one but without the base, you can use spade connectors instead.
As HID bulbs only have one "filament" the light unit is fitted with a solenoid operated plate to produce a specific dip beam cut off pattern. The solenoid is operated to move the cut off plate to produce the main beam.
This circuit operates as follows, turn ignition ON, side lights illuminate (with halos if fitted). Start engine & you can travel on side lights only. To bring on the headlights operate the headlamp main beam flasher switch, the relay R/1 operates & locks itself on via relay contact R1, main beam will come on and solenoid lifts cut off plate, release switch & solenoid releases reverting to dip beam. The headlights will now remain illuminated until the ignition is turned off. Dip/High beam switch operates as normal.
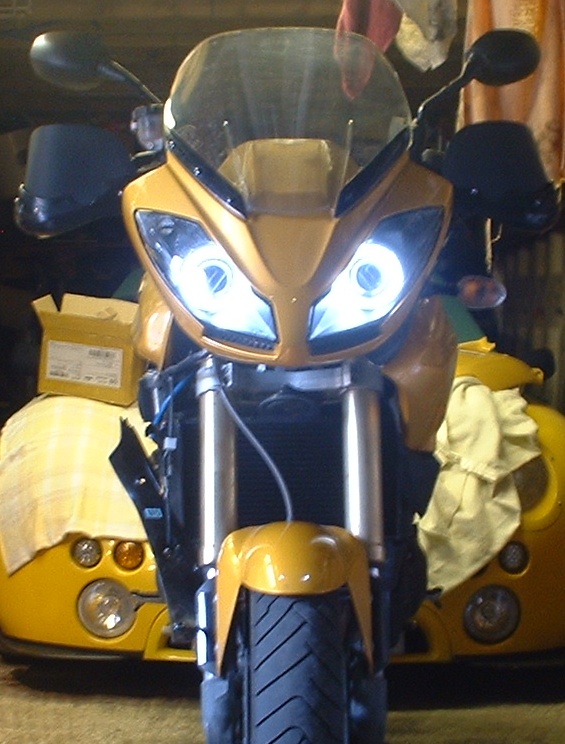
HID Halo lights only, awaiting LED side light bulbs
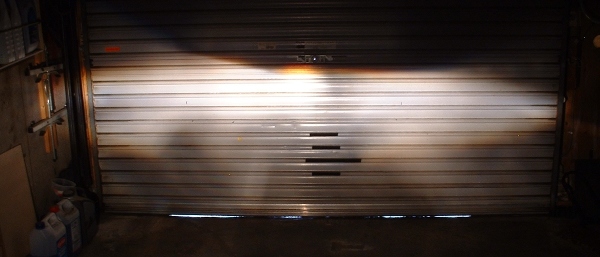

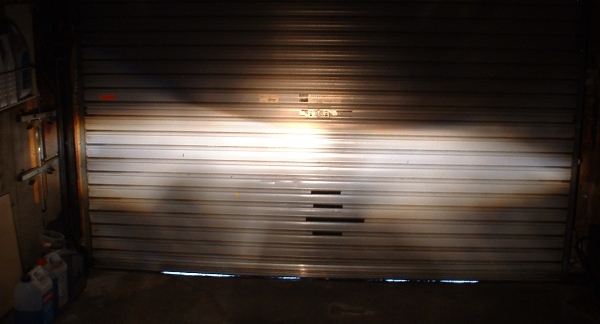
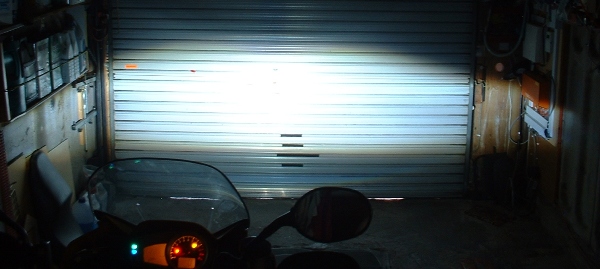
2 x HID main beam pattern
Awaiting delivery LED bulbs for side lights.
Design modified by Fath 2014